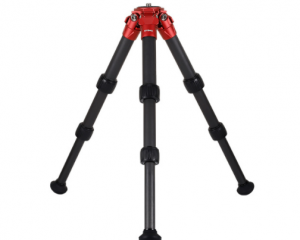
Product Category
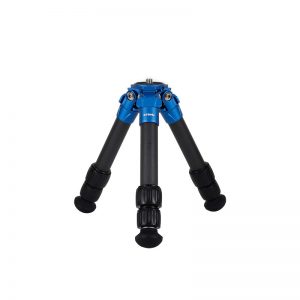
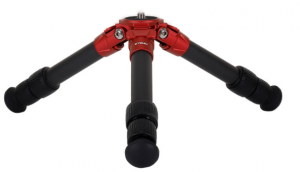
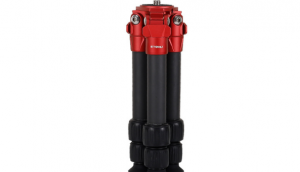
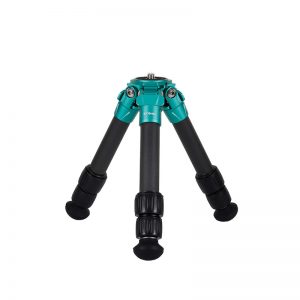
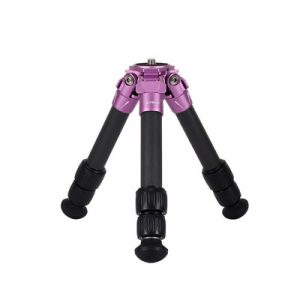
tripod
Section number
3 sections
Material
carbon fiber
Load-bearing
50KG
Fastest shipping time
1-3 days
Surface treatment
High temperature spray paint flash
Rotation range
360°
Scope of application
Banks, shopping malls, schools, warehouses, ‘family’ office buildings
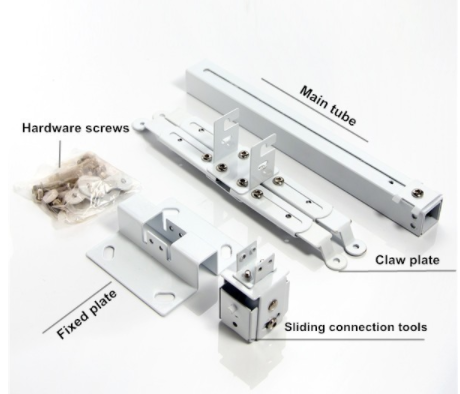
How to install the projector bracket
First, rotate the projection pole into the bracket base until it is tightened and there is no shaking; || Install the gimbal on the other end of the projection pole, and also tighten it without shaking; ||Align the screw interface of the projector with the projection bracket. Nut, fix the projector to the bracket in a clockwise direction.
Projection bracket installation steps (take the floor stand as an example)
1. First, complete the two-section telescopic assembly;
2. Rotate the telescopic rod of the support into the base of the support until it is tightened and there is no shaking;
3. Install the pan/tilt on the other end of the telescopic rod, and also tighten it without shaking;
4. Finally, align the screw interface of the projector with the nut of the projection bracket pan/tilt, and fix the projector to the bracket in a clockwise direction.
Note: The projector bracket is mainly divided into three types: floor, desktop, and wall-mounted. The most important operation step is to connect the screw hole of the projector to the bracket, and then adjust the height and position of the bracket.
